Introduction to Game Development
Sunjay Varma
Link to slides: sunjay.dev/learn-game-dev/workshop/
Short URL: goo.gl/sCv2aR
While you wait...
- Install Rust: rustup.rs
- Install SDL2: github.com/Rust-SDL2/rust-sdl2#requirements
- You need SDL2, SDL2_Image, and SDL2_ttf
- Introduce yourself to the people next to you (you will need groups of 2-3 people):
- What is your name?
- How did you start learning Rust?
- If you could have any fictional superpower, what would you choose?
Link to slides: sunjay.dev/learn-game-dev/workshop/
Short URL: goo.gl/sCv2aR
Please ask questions!
When you ask questions, you are helping:
- yourself
- everyone else in the workshop
- the speaker who wants to know if people are actually understanding anything :)
Sunjay Varma
Professional compiler enthusiast
developer?
Senior-level web developer?
Software architect?
Machine learning / Data scientist?
Indie game developer?


These pictures are from ~10 years ago!

Developing Games in Rust
ProtoArt
Helping indie game developers create high quality pixel art.
Website: protoart.me
Sign up on our website to get early access & updates!
Learn Game Development in Rust
Goals of
Today's Workshop
- Get familiar with game development concepts
- Read documentation and look things up
- Have lots of fun experimenting!
This workshop is about learning the process of developing a game. Don't worry too much about the final result!
Rough Timeline
- Alternating between 10-15 minutes learning game development concepts and 20-30 minutes on exercises
- 2-3 hour morning, 2 hour lunch, 2-3 hours in afternoon
-
First half: Easier exercises with more explanation
- Game loops, simple 2D rendering, sprite animation
-
Second half: Harder exercises with more time to work
- Entity-Component-Systems, adding features to our game
- The second half is a big refactor, so you might not feel like we are making much progress -- stay motivated! It's worth it!
Game Development
Things to remember as you develop your game:
- Go one step at a time.
- Work your way up to the vision you have.
- Don't try to build every part of your game all at once.
Game Milestones
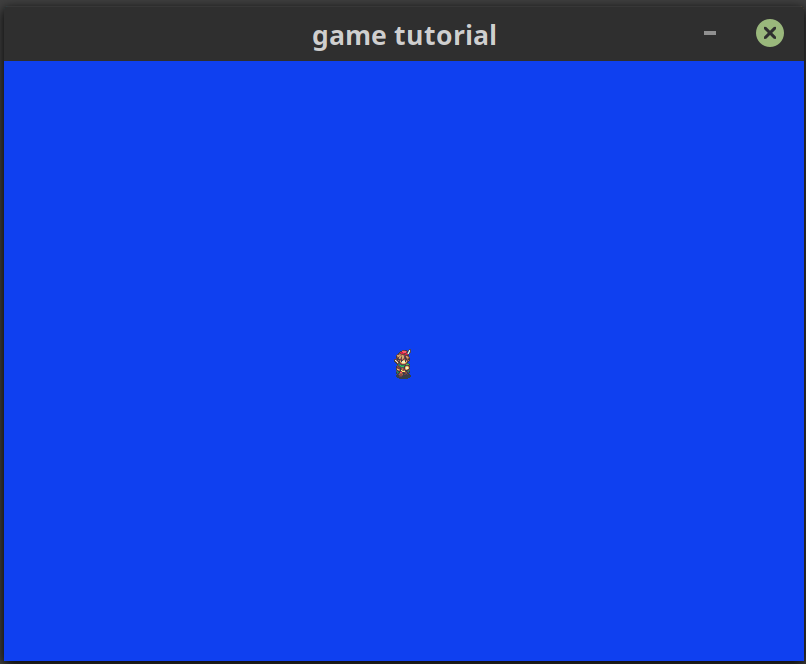
- open a window
- render/draw an image
- draw a character
- move the character around
- animate the character's movement
- and so on....
Group work!
- one of the best ways to learn is by teaching
- try to help your group members and get them to help you
- start every exercise by discussing how you plan to approach it with your group members
- talk about the differences in your code and how you are implementing the game
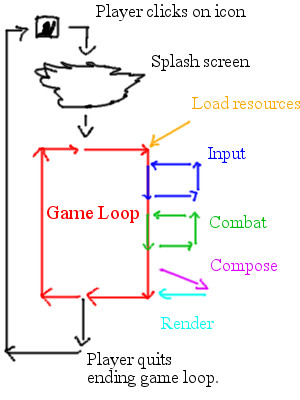
The Game Loop

Hyperloop
Game Loop
Is there an event?
Yes
No
Handle the event
Waits for an event
Traditional UI Application
Game Loop
Is there an event?
Yes
No
Handle the event
Waits for an event
Is there an event?
Yes
No
Handle the event
Update the game state
Keeps going
Traditional UI Application
Game Loop
The Game Loop
// Run forever (or until the user exits)
loop {
  // Handle ALL the events that are available
  // **right now**, or just keep going
  handleEvents();

  // Update the state of players, enemies, etc.
  update();

  // Draw the entire current state of the game
  render();
}
Exercise time!
Complete the following steps:
- Create a new project with
- Put the contents of assets.zip into an "assets" folder in your project
- Copy the example from the SDL2 documentation (docs.rs/sdl2)
- Clean up the example however you want (remove extern crate, ? operator, return Result<(), String>)
- Identify the parts of the example that correspond to each part of the game loop and restructure the code to match our game loop pseudocode
cargo new
Rendering an Image
Before we can do this...
We need to do this

Cargo Features
Important: You will need to enable the "image" feature of the sdl2 crate in Cargo.toml.
(Make sure you have the SDL2_Image development libraries installed)
[dependencies]

[dependencies.sdl2]
version = "0.32.1"
default-features = false
features = ["image"]
Finding Examples
Repository examples directory:
The sdl2 crate documentation:
The sdl2 crate documentation (with "image" feature):
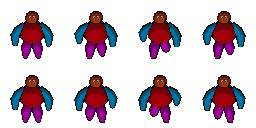
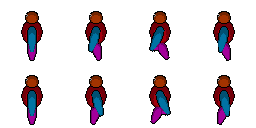
Spritesheets
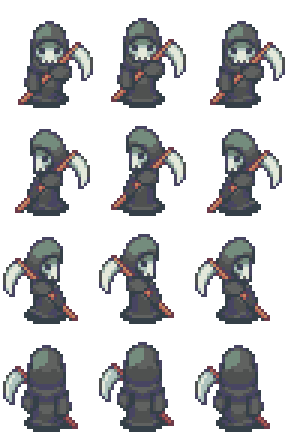

Sprite/Frame
Animation
Looks like walking
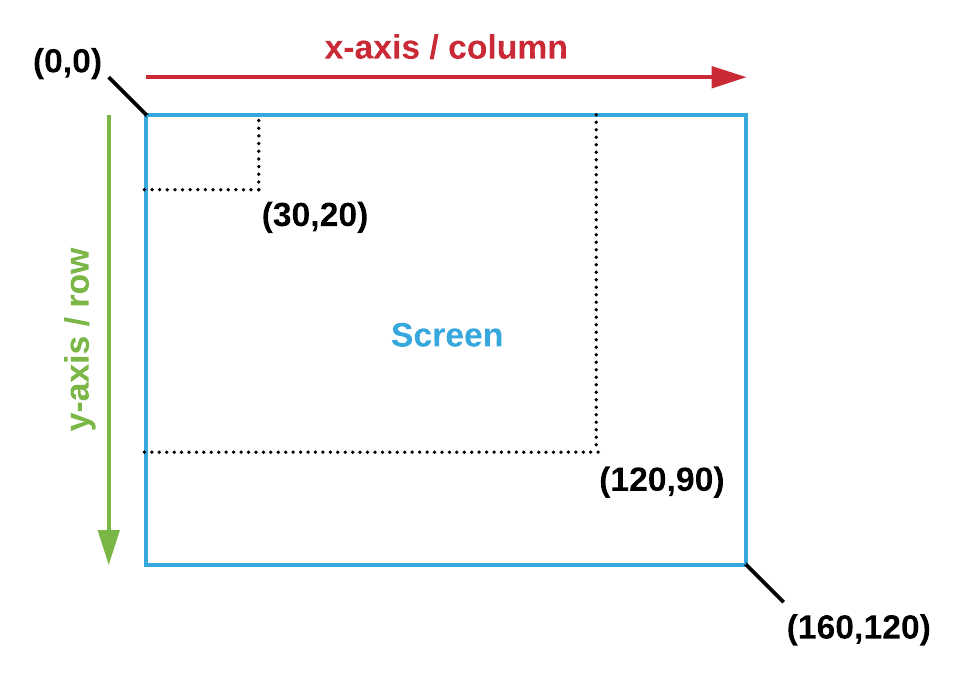
Screen Coordinates
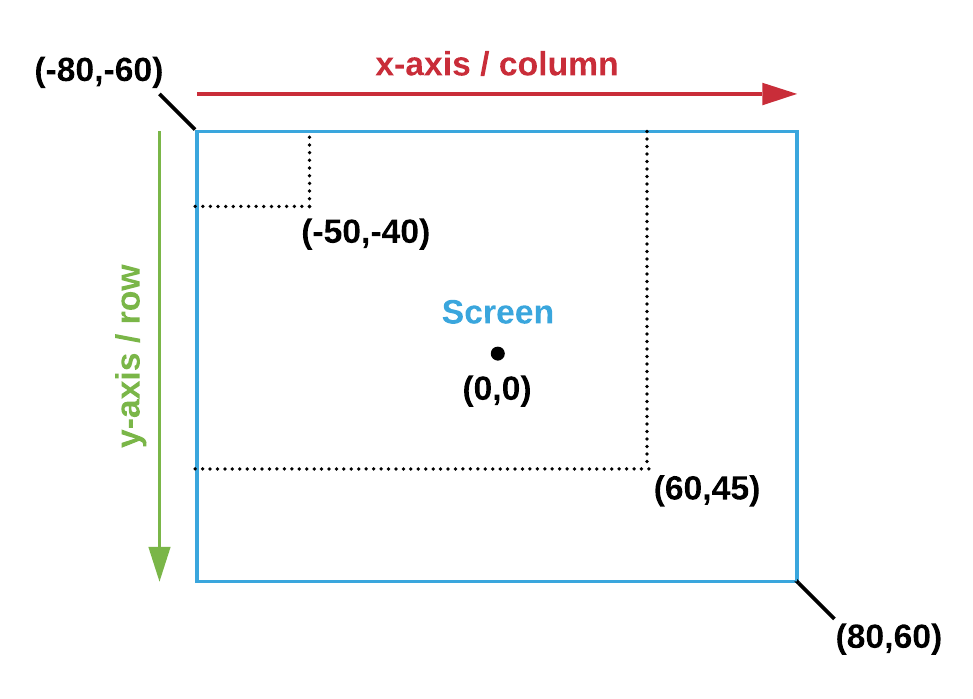
World Coordinates
- character position is always world coordinates
- convert to screen coordinates when rendering
- assume that the character is centered at their position
- world coordinate system can be anything you want
Exercise time!
Complete the following steps:
- Use the image-demo.rs example to get the entire assets/bardo.png image rendering in the window
- Using the documentation for Canvas::copy(), figure out how to render only a single sprite
Hint: Define a "position" variable of type Point (world coordinates) and a "sprite" variable of type Rect and use those when rendering (screen coordinates) - Refactor your code to define a Player struct with "position" and "sprite" instead of loose variables
Simple Movement & Animation
Key Repetition
Spritesheet Animations
Down
Left
Right
Up
Frame 0
Frame 1
Frame 2
Exercise time!
Complete the following steps:
- Start matching Event::KeyDown in the part of your code that handles events from the event pump
- Move the player by some amount whenever an arrow key is pressed down (hint: use position.offset)
- Add a "speed: i32" field to your Player struct and use that in offset instead of an arbitrary value (this gives each player its own speed)
- Instead of updating the position when handling events, use the events to set the direction & speed of every Player (define a Direction enum)
- Update the position during the update phase of the game loop instead (tweak call to sleep() as necessary)
Exercise time!
Complete the following steps:
- Write a function "direction_spritesheet_row(direction: Direction) -> i32" to convert the current direction to its corresponding row in the spritesheet
- Add a "current_frame: i32" field to Player and increment it (modulo 3) during the update phase of the game loop
- Use current_frame and direction_spritesheet_row to calculate which frame of the spritesheet you should draw
- Only update current_frame when the player is actually moving (hint: which field tells you if the player is moving?)
- Set the frame rate (last line of the game loop) to something more appropriate
Lunch Time!!
Image source: xkcd.com/1616 XKCD "Lunch"
Entity-Component-Systems
All of us in this workshop right now
Image source: xkcd.com/1906/ XKCD "Making Progress"
Entity-Component-Systems
(in one slide)
| ID | Position | Velocity | Sprite | Animation |
|---|---|---|---|---|
| 0 | (3,-4) | 1 Up | 0 | frame 1 |
| 1 | (-17,8) | -1 Left | 1 | |
| 2 | (-1,0) | 0 Right | ||
| ... | ... | ... | ... | ... |
Entities
Components
Created before game loop starts
Systems
Physics
Animator
Game AI
Keyboard
Called during "update" step
Each system processes only the columns it needs
Passed in
Updated
Executes in parallel
Using the specs ECS
Choosing Components
Grouping state into a single component:
- Which parts of your state are related?
- Which data will often be processed together in the same system?
Splitting state across multiple components:
- Which entities need some parts of the state but not others? (e.g. static items in the game need position, not velocity)
- Which properties of the state might be dynamically added or removed? (e.g. animations)
Our Components
/// The current position of a given entity
#[derive(Component, Debug)]
#[storage(VecStorage)]
struct Position(Point);

/// The current speed and direction of a given entity
#[derive(Component, Debug)]
#[storage(VecStorage)]
struct Velocity { speed: i32, direction: Direction }

#[derive(Component, Debug)]
#[storage(VecStorage)]
struct Sprite {
    /// The specific spritesheet to render from
    spritesheet: usize,
    /// The current region of the spritesheet to be rendered
    region: Rect,
}

#[derive(Component, Debug)]
#[storage(VecStorage)]
struct MovementAnimation {
    // The current frame in the animation of the entity's direction
    current_frame: usize,
    up_frames: Vec<Sprite>,
    down_frames: Vec<Sprite>,
    left_frames: Vec<Sprite>,
    right_frames: Vec<Sprite>,
}
Compiler-Driven Development
Exercise time!
Complete the following steps:
- Add the "specs" and "specs-derive" crates to your Cargo.toml format (tip: quickly lookup the version by going to docs.rs/specs and docs.rs/specs-derive)
- Using the advice from the previous slides, divide your state into components (Tip: To avoid lifetime and copying issues, don't store the spritesheet in a component. Use the index of an array of spritesheets.)
- Add a new entity to the world that replaces your previous Player struct. Define it using your new components.
- Optional: Move your components into a separate module
Your First "System" in the specs ECS
Setting Up Component Storages
The Dispatcher
Resources & Marker Components
Resources: slide-rs.github.io/specs/04_resources.html
Marker Components: slide-rs.github.io/specs/11_advanced_component.html
#[derive(Component, Debug, Default)]
#[storage(NullStorage)]
pub struct KeyboardControlled;

pub enum MovementCommand { // set during event handling
    Stop,
    Move(Direction),
}

pub struct Keyboard;

impl<'a> System<'a> for Keyboard {
    type SystemData = (
        ReadExpect<'a, Option<MovementCommand>>,
        ReadStorage<'a, KeyboardControlled>,
        WriteStorage<'a, Velocity>,
    );

    fn run(&mut self, mut data: Self::SystemData) {
        // ...
    }
}
Systems must be thread-safe!
// Type alias for the data needed by the renderer
pub type SystemData<'a> = (
    ReadStorage<'a, Position>,
    ReadStorage<'a, Sprite>,
);

pub fn render(
    canvas: &mut WindowCanvas,
    background: Color,
    textures: &[Texture],
    data: SystemData,
) -> Result<(), String> {
    // ...
}

fn main() {
    // ...
    let mut world = World::new();
    dispatcher.setup(&mut world.res);
    renderer::SystemData::setup(&mut world.res);
    // ...

    loop {
        // ...
        render(&mut canvas, /*...*/, world.system_data())?;
        // ...
    }
}
Exercise time!
Complete the following steps:
- Start to divide up the update step of your game loop into multiple systems
- Possible split: Physics (updating player position with velocity), Animator (updating current frame), Keyboard (handling key events + setting direction)
- Use a Dispatcher to run your systems in the update step of your game loop (don't forget to call dispatcher.setup)
- Define a renderer that uses SystemData from the specs World (World::system_data) to draw the game
- See if you can finish resolving all the compiler errors in your program
WE DID IT!!!

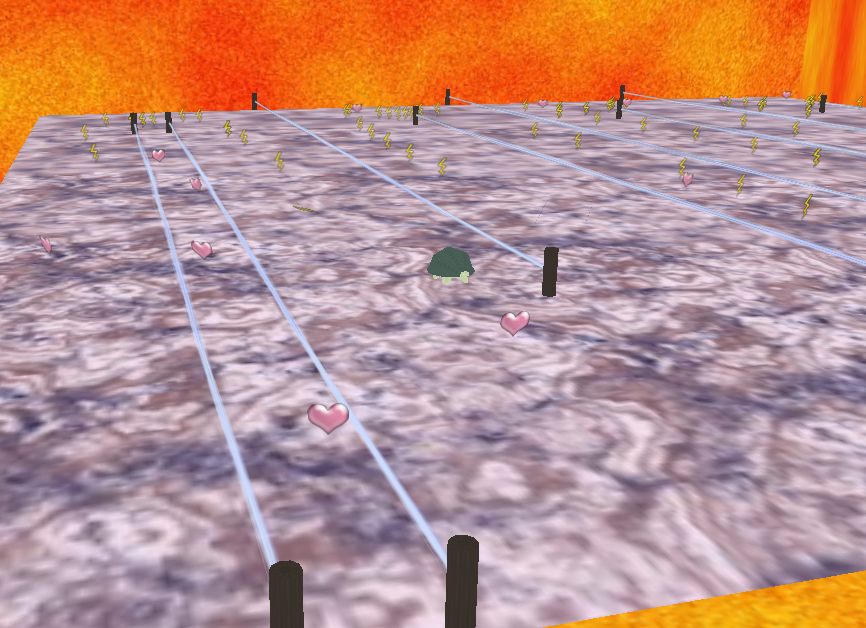
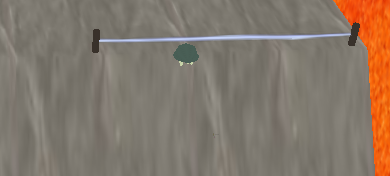
Extending Our Game
Exercise time!
Complete the following steps:
- Add enemies to your game: Do this by only adding components if you can. None of your other code should have to change.
- Define a system (e.g. "AI") to randomly move your enemies around (hint: use the rand crate and a marker component added to all of the enemies)
- Find a way to stop your enemies from leaving the screen (hint: use a resource with the window boundary)
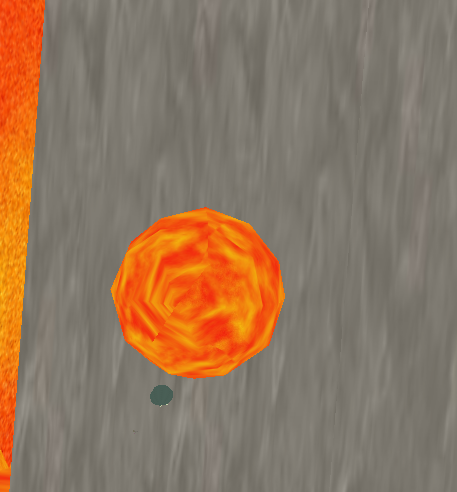
Basic Collision Detection
let player_bounds = Rect::new(0, 0, 5, 5);
let enemy_bounds = Rect::new(1, 1, 6, 6);
println!("{:?}", player_bounds.intersection(enemy_bounds));
Intersection
No Intersection
Exercise time!
Complete the following steps:
- Make it so that if the player collides with an enemy, the game ends and prints out a message (hint: use a resource to communicate that the game should end)
Exercise time!
Complete the following steps:
- Download a (free) font from the internet (e.g. Open Sans from Google Fonts) and put it in a folder in your project
- Look up an example from the SDL2 repository and try to figure out how to use SDL2_ttf to render text
(hint: see ttf-demo.rs) - Instead of just quitting the game right away when the player hits an enemy, draw some text on the screen to tell them they lost (hint: how would you get that information to the renderer?)
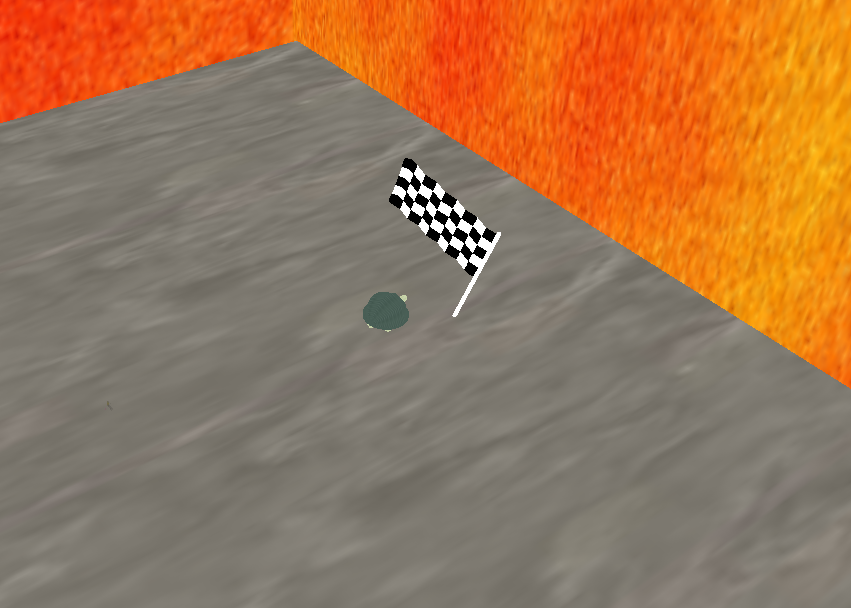
Exercise time!
Complete the following steps:
- Draw a menu at the start of your game that displays the title of your game and two menu options: start and exit
- Let the user select between the menu items and take an appropriate action (hint: you might want two game loops, one for the menu screen and one for the game screen)
- Add a pause menu to your game that is triggered by the player pressing and releasing the "P" key (you can choose how this menu should behave and what should be displayed)
For further help on your game:
Rust Users Forum: users.rust-lang.org
Follow me on Twitter: twitter.com/sunjay03
Link to slides: sunjay.dev/learn-game-dev/workshop/
Short URL: goo.gl/sCv2aR